Three-step flow
Event-driven workflows enable a powerful processing pipeline:
- AI generates – ModelRiver processes the AI request with your configured provider
- You process – Your backend receives the AI output and executes custom logic (database updates, tool calls, validation, enrichment)
- Final response – You call back to ModelRiver, which broadcasts the completed result to WebSocket channels
When to use event-driven workflows
- Execute tool/function calls based on AI output
- Validate and enrich AI responses with database data
- Implement multi-step workflows with approval gates
- Trigger side effects (notifications, database updates) before returning to users
Setting up
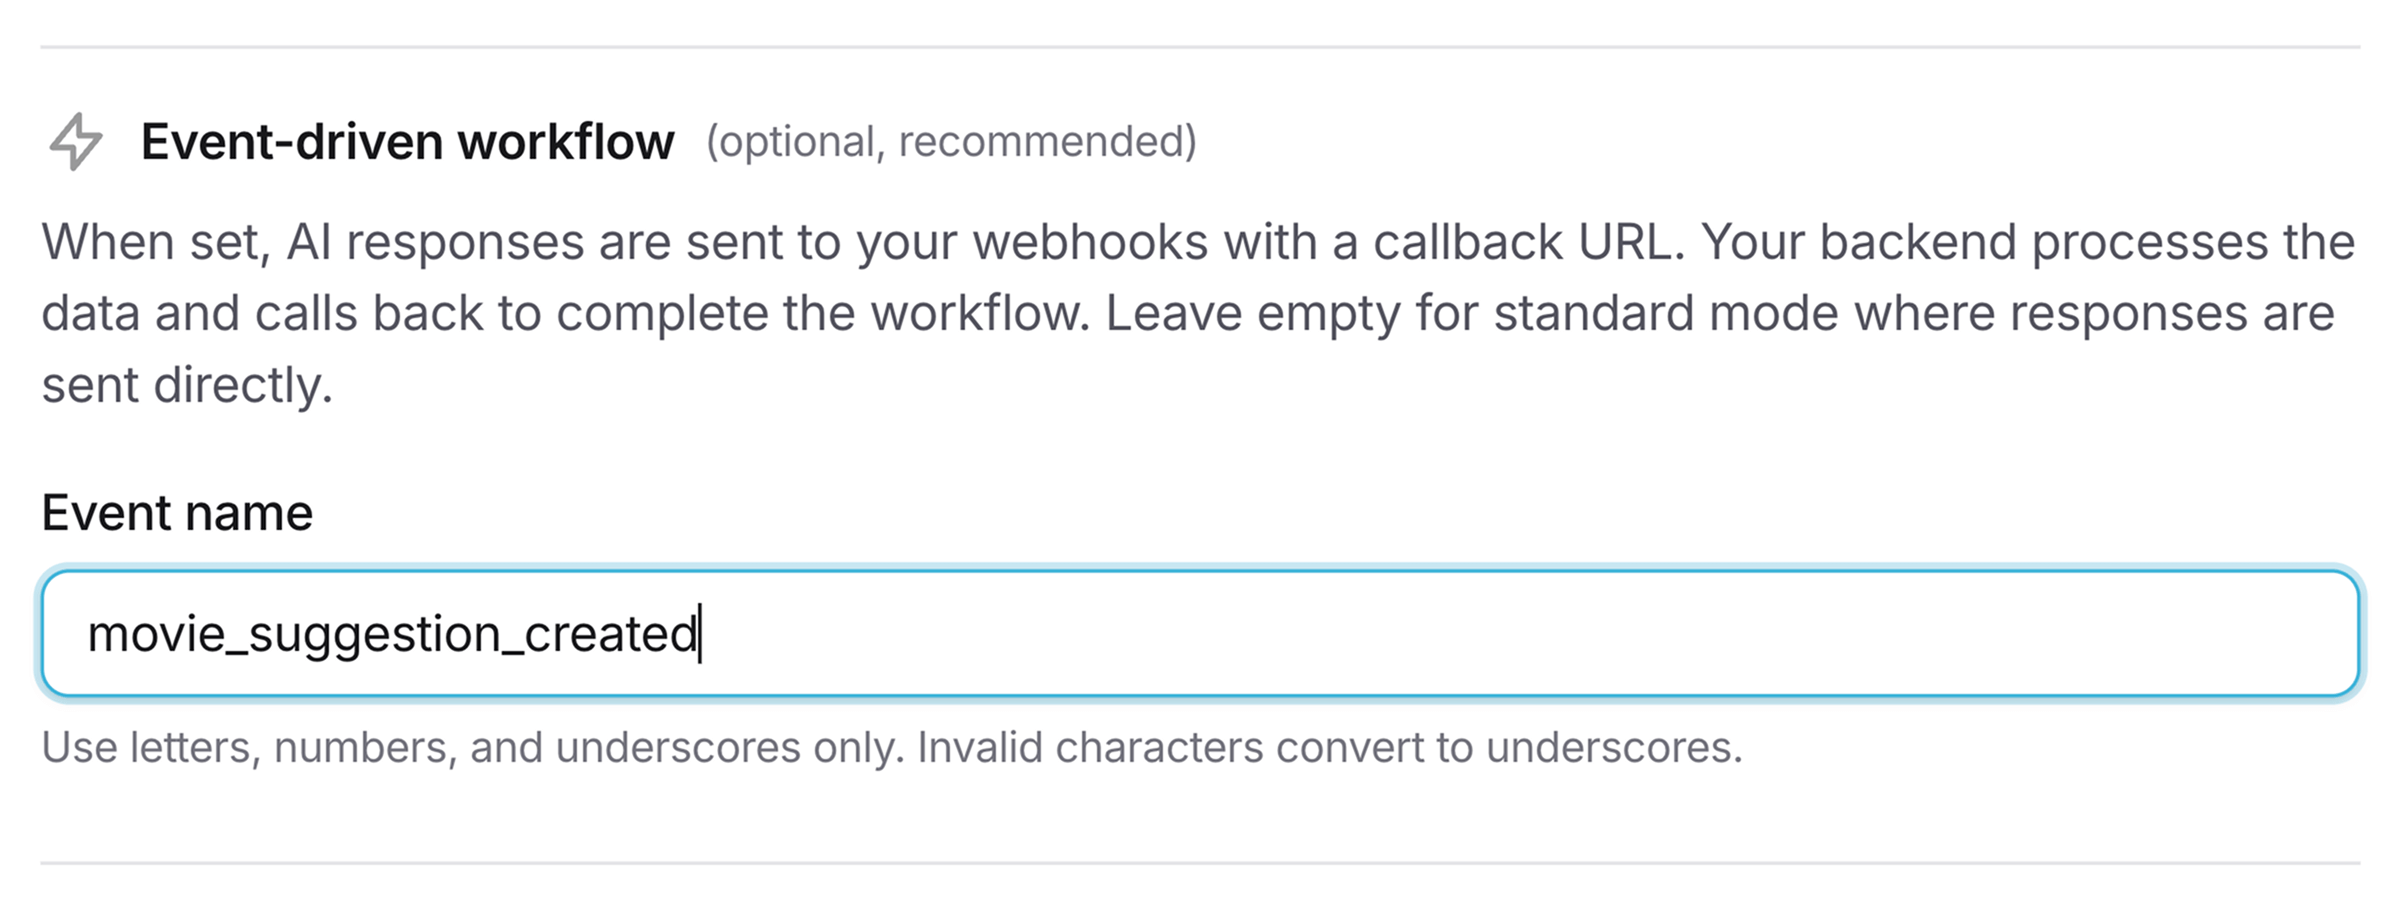
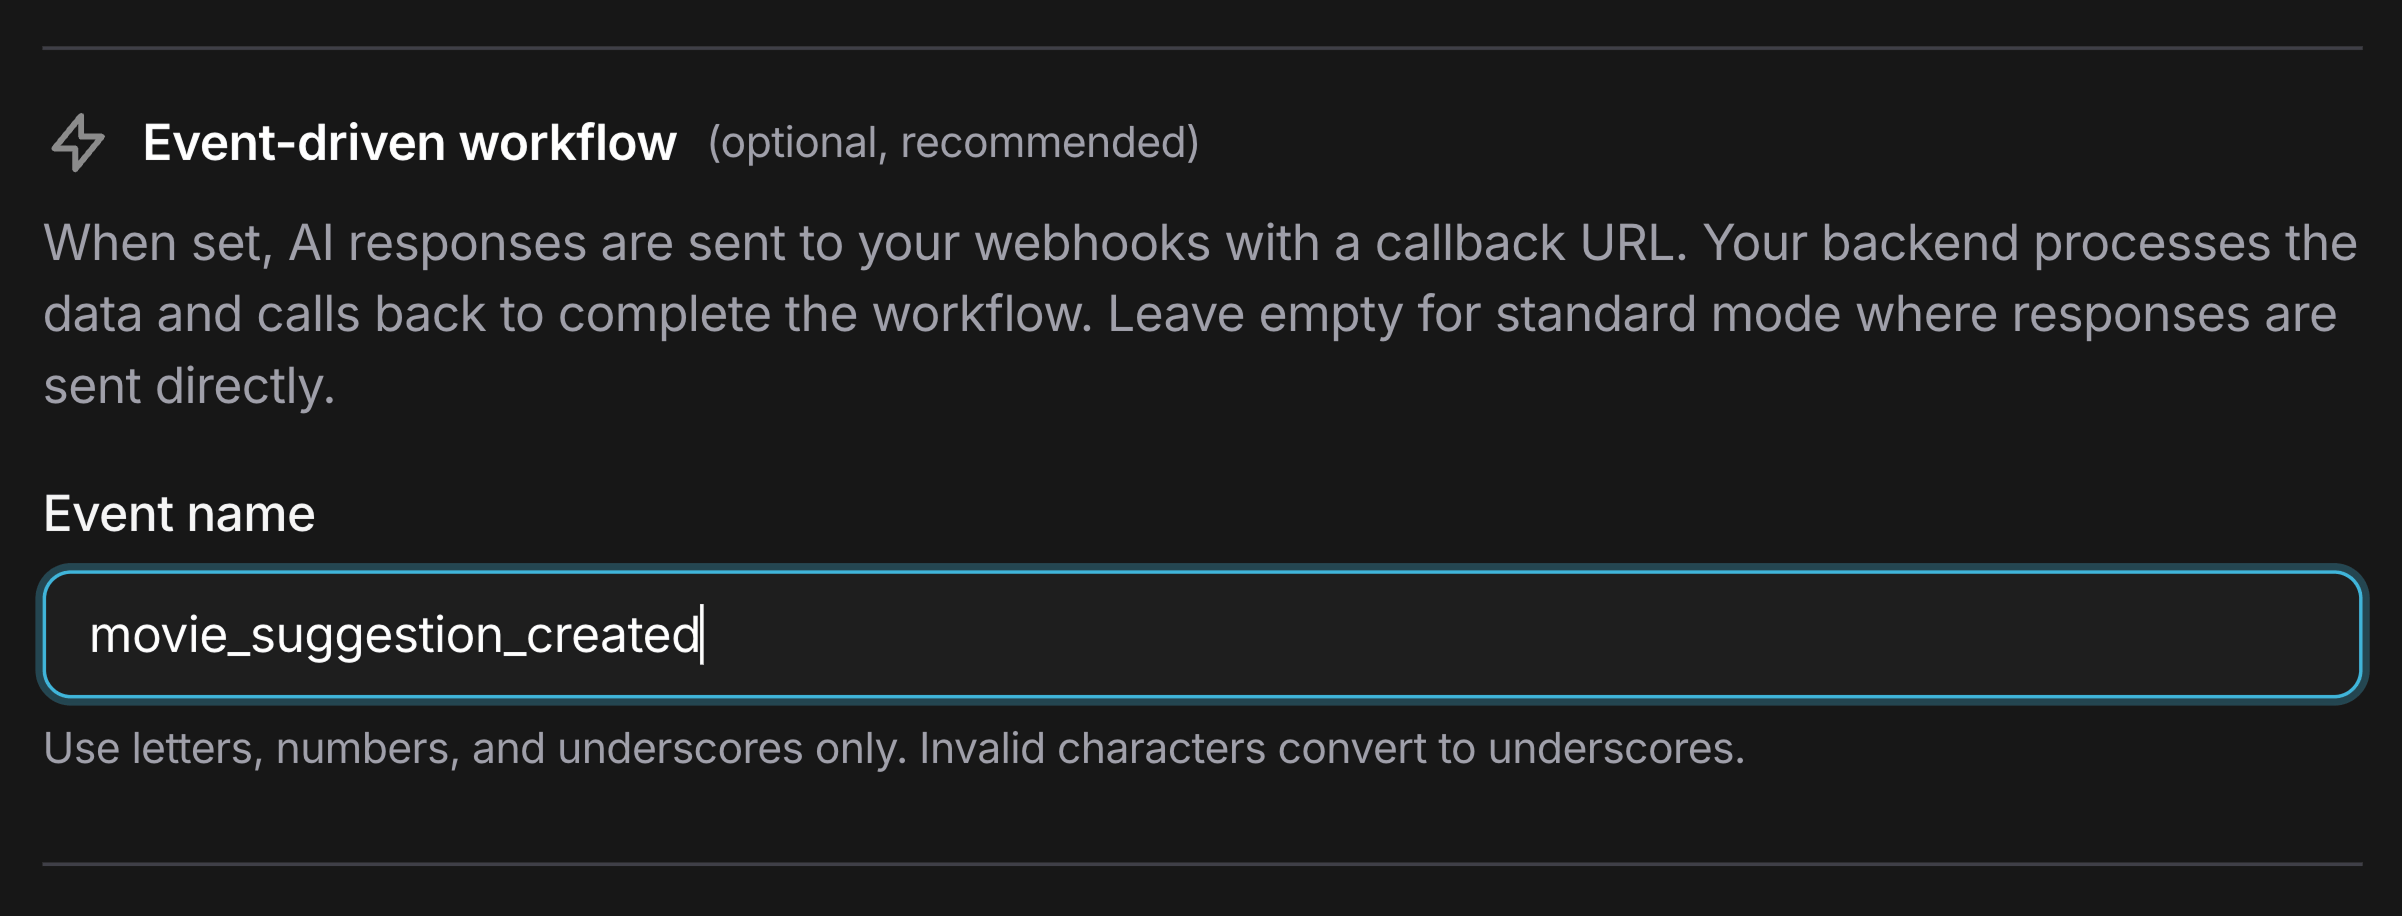
1. Add an event name to your workflow
When creating or editing a workflow in the console, set the Event name field.
2. Webhook payload
When a workflow with an event_name completes, ModelRiver sends a payload with these key differences from standard webhooks:
typeistask.ai_generated(nottask.completed)eventcontains your custom event nameai_responsewraps the AI-generated datacallback_urlis provided for you to call back to ModelRivercallback_required: trueindicates ModelRiver is waiting for your callback
1{2 "type": "task.ai_generated",3 "event": "new_movie_suggestion",4 "channel_id": "550e8400-e29b-41d4-a716-446655440000",5 "ai_response": {6 "data": {7 "title": "Inception",8 "year": 2010,9 "director": "Christopher Nolan"10 }11 },12 "callback_url": "https://api.modelriver.com/v1/callback/550e8400...",13 "callback_required": true,14 "customer_data": {15 "user_id": "user_456"16 },17 "timestamp": "2026-01-05T12:34:56.789Z"18}3. Process and call back
After executing your custom logic, call back to ModelRiver with the enriched data:
1// Your backend processes the AI response2const enrichedData = await processAIResponse(aiResponse.data);3 4// Call back to ModelRiver5await axios.post(callbackUrl, {6 data: enrichedData,7 task_id: "movie_123",8 metadata: { processing_time_ms: 234 }9}, {10 headers: {11 'Authorization': `Bearer ${process.env.MODELRIVER_API_KEY}`,12 'Content-Type': 'application/json'13 }14});4. Frontend receives final response
ModelRiver broadcasts the enriched response to the WebSocket channel. Your frontend receives both the original ai_response and your enriched data.
Timeout handling
If your backend doesn't call back within 5 minutes, ModelRiver automatically:
- Sends a timeout error to the WebSocket channel
- Logs the timeout event
- Marks the request as failed
Testing in the playground
The playground automatically simulates the complete event-driven flow when testing workflows with event_name set. After ~1.5s delay, a simulated callback response is generated so you can validate your workflow logic before production.
Next steps
- Signature verification: Secure your webhook endpoints
- Delivery & retries: Understand retry policies
- Workflows: Configure event-driven settings