
ModelRiver's visual workflow builder lets you configure, preview, and test AI features without reading API docs. Pick a template, see the full path from request to response, run prompt testing and structured output validation in Testing mode, and switch models without rewriting your app. If you ship AI into a product, this is how you get AI quality assurance before go-live.
Quick start: Create a free account and build a Test mock workflow in minutes. No provider keys required to start.
A real example: support ticket classification
Imagine you are shipping a feature called classify_ticket. Support emails come in, your app sends them to an AI workflow, and expects JSON back: category, priority, and confidence.
Without a clear setup, nobody can answer which model runs it, what happens when OpenAI errors, or how to test the UI without a growing API bill. With a visual workflow, you pick the Structured template, attach a response format, preview Request → Models → Format → Response, test in Playground with sample JSON, then flip to Live when your app is ready.
That pattern works for invoice extraction, document summarization, contract field parsing, and any named AI feature your product calls by workflow name.
What problems does this solve?
Most AI features break in production for boring reasons, not model quality:
- Nobody knows which model or provider actually runs a feature
- Backup models were planned but never configured
- The app expects JSON, but the team never attached a response format
- Integration testing burns tokens on every CI run
- Switching models means a code change and a deploy
The visual workflow builder makes those gaps visible while you configure, not after users hit a bug.
Without a workflow vs with a visual workflow
| Manual setup | Visual workflow builder | |
|---|---|---|
| See the full pipeline | Spread across docs, env vars, and code | Workflow path preview on every screen |
| Test without live AI | Mock APIs or pay per test run | Testing mode with sample JSON, zero tokens |
| Structured output validation | Custom parsers and hope | Response format attached to the workflow |
| Switch models | Change code, redeploy | Update workflow in the dashboard |
| Know what's production-ready | Ask in Slack | Live / Testing badges on workflow cards |
| LLM regression testing prep | Rebuild fixtures by hand | Same workflow name, new model, same app code |
Why traditional software testing is not enough for AI
Unit tests assume deterministic outputs. AI systems are not deterministic: the same prompt can produce different wording, invalid JSON, or missing fields depending on model, load, and provider.
Traditional tests also hide the pipeline. You might test a function that calls OpenAI directly, but fail to test failover, response shape, or what your app does when the provider times out.
What you need for LLM testing and AI evaluation is a named workflow with a visible path, a defined response contract, and a way to run prompt testing without calling providers on every run. That is what this setup flow is for.
Can I test my AI feature without calling OpenAI or Anthropic?
Yes. Set the workflow to Testing mode or start from the Test mock template. ModelRiver returns your predefined sample JSON. Auth, logging, and your app integration work normally. Only the AI call is skipped. Details in Test AI workflows without burning tokens.
What is a workflow?
A workflow is a named AI feature your app calls, like classify_ticket or summarize_notes. It holds your provider, model, backup models, response format, and Live or Testing mode. Your code keeps calling the same name when you change models or run model comparison experiments in the dashboard.
Step-by-step: test a feature before you ship
Here is how a developer would set up support ticket classification:
- Pick a template. Choose Structured for JSON, or Test mock if the app is not ready for live AI yet.
- Name the workflow.
classify_ticket. Set Testing mode. - Choose a primary model. OpenAI, Anthropic, or another provider when you go Live. Add backup models on the same screen.
- Attach a response format. Define category, priority, and confidence. Sample data powers Testing mode.
- Review the workflow path. Confirm Request → Guardrails → Models → Format → Response. Fix anything marked "Not set."
- Test in Playground. Hit Create and test in Playground on the final wizard step.
- Wire your app. Call
classify_ticketfrom your product. Parse the sample JSON until you are confident. - Ship Live. Switch to Production mode. Same workflow name, real AI responses.
Outcome: compare models, validate outputs against your schema, and catch setup gaps before deployment, not in production.
Ready to try it? Build your first workflow. Start with Test mock if you are still wiring the app.
Pick a starting point in seconds
The first screen is five tiles you scan in a second:
| Tile | Best for | Badge |
|---|---|---|
| Chat | Support bots, assistants, messaging | Live |
| Summarize | Document summarization, long-text compression | Live |
| Structured | Invoice extraction, classification, API JSON | Live |
| Test mock | Integration and prompt testing without tokens | Testing |
| Blank | Full control | Custom |
Tap the tile that matches your feature. Name it, choose Live or Testing, and move on.
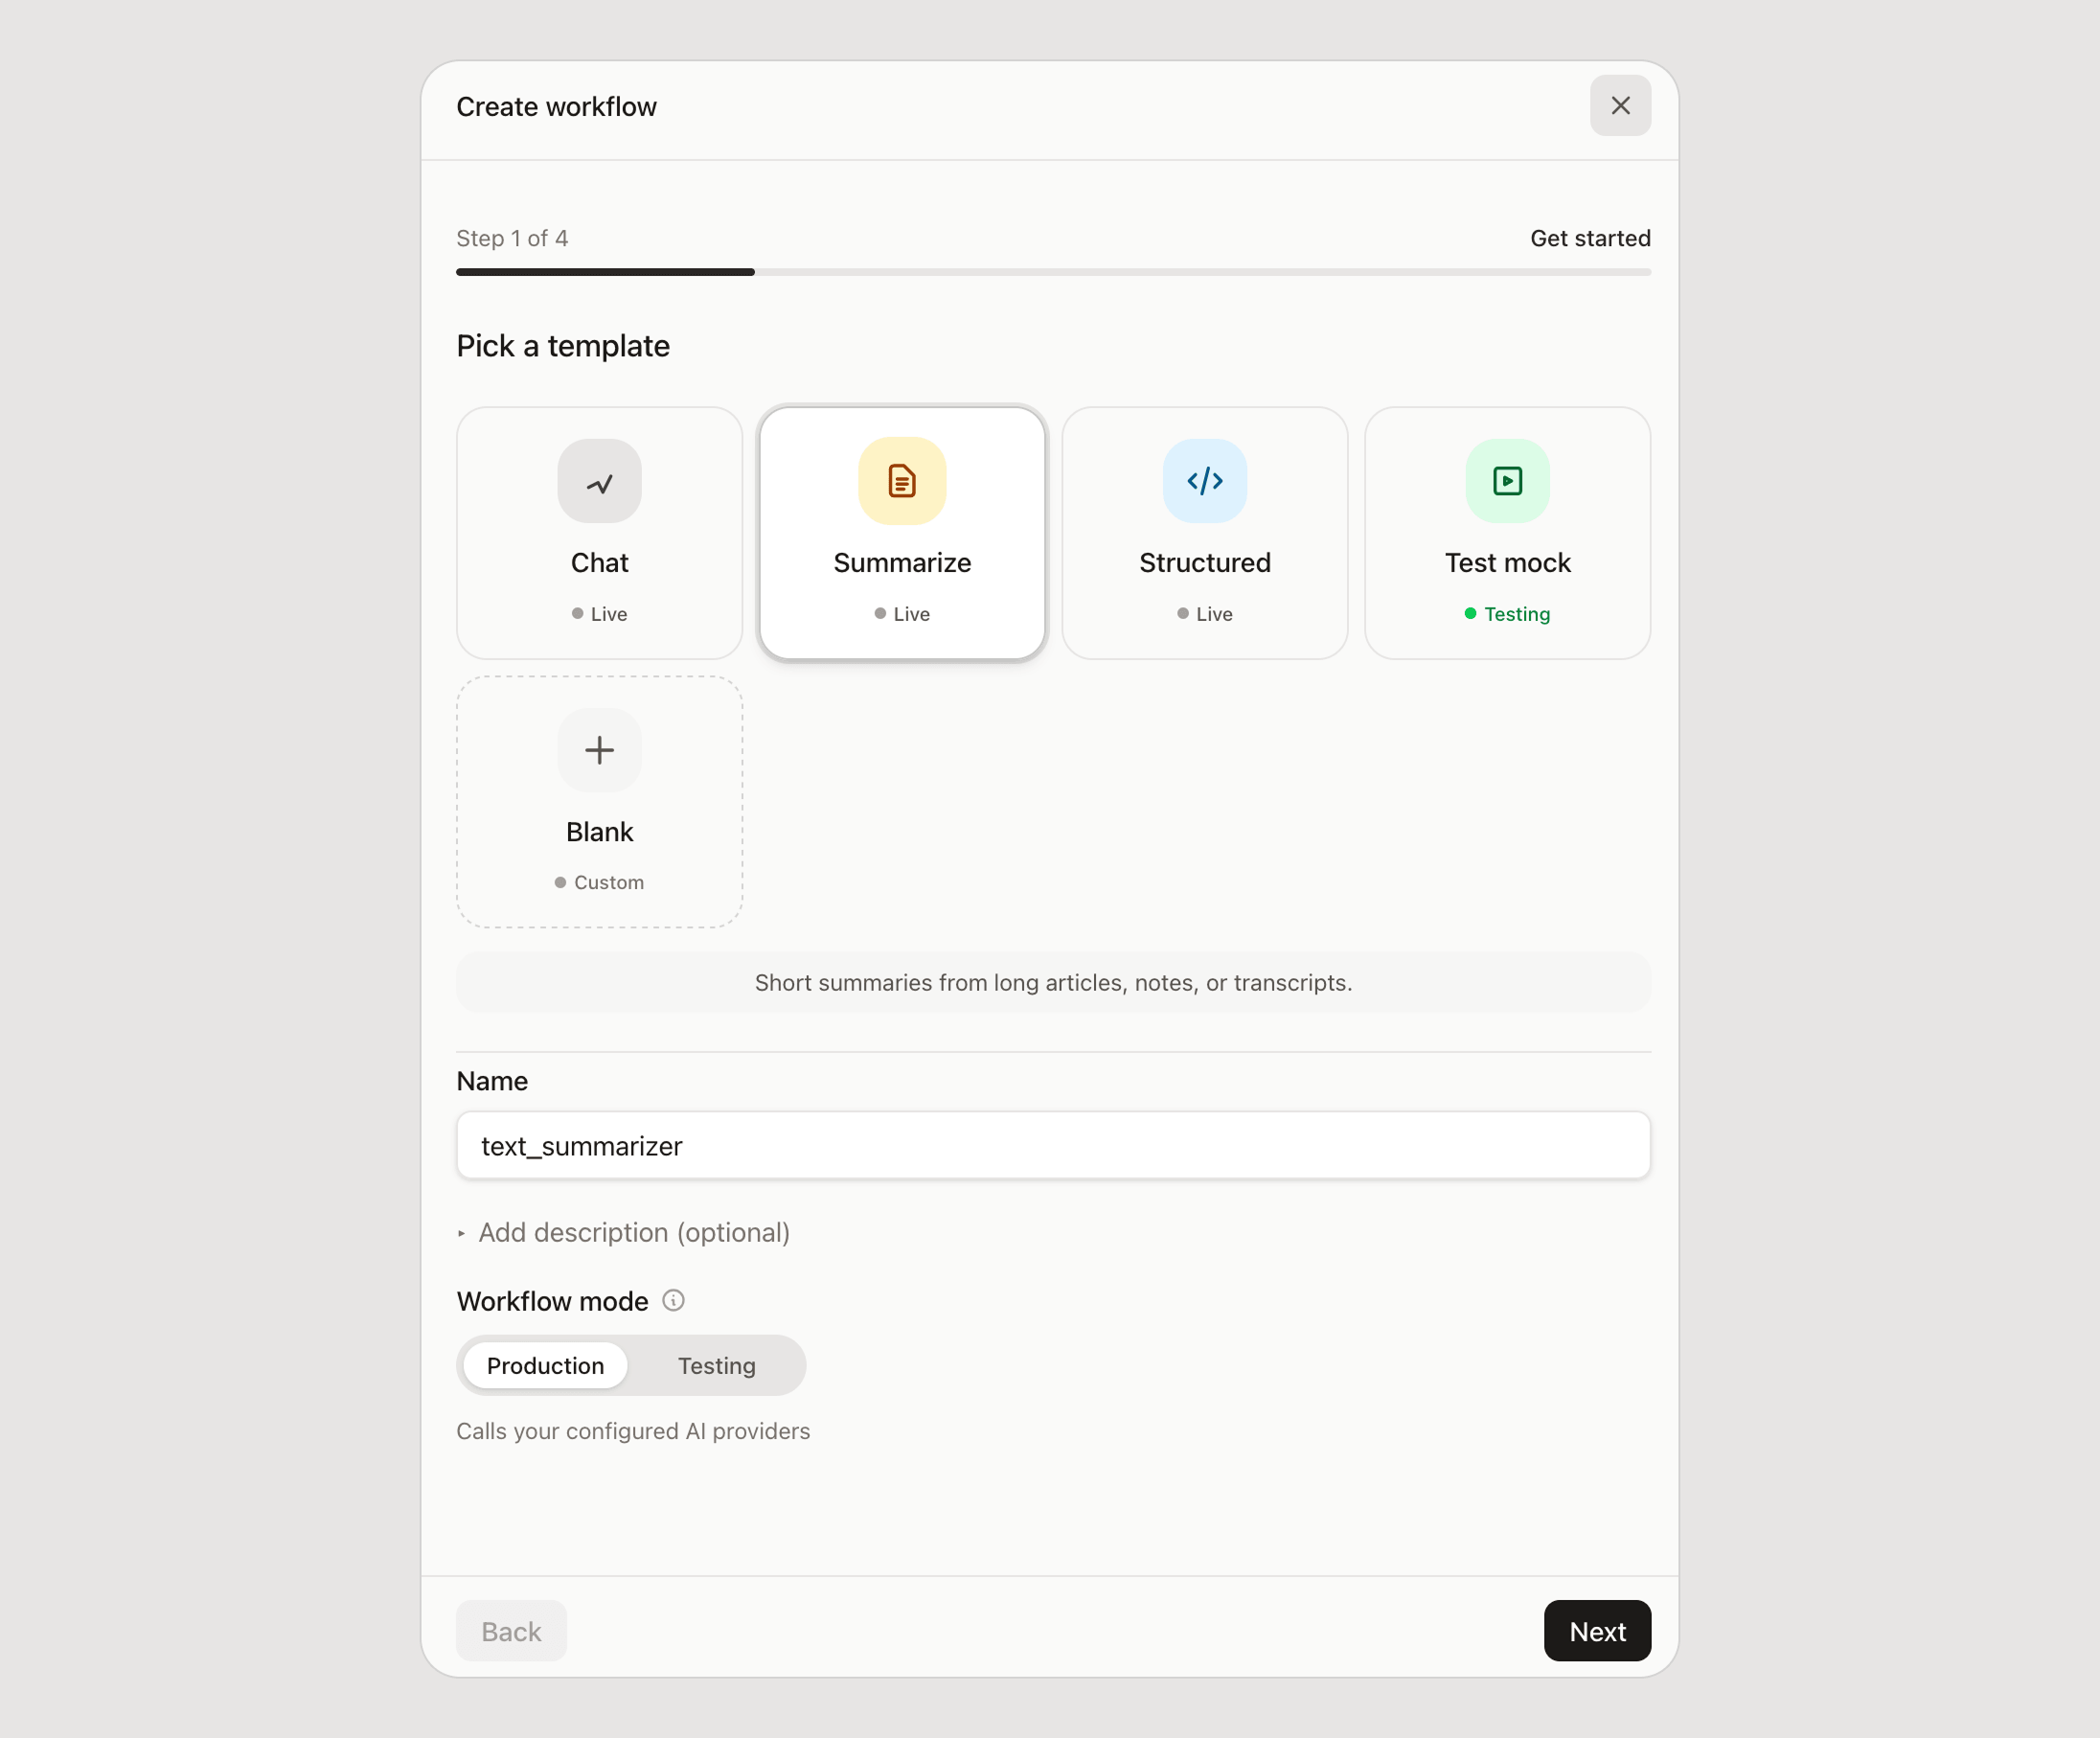
Four steps, one screen at a time
A progress bar and fixed Back / Next buttons guide you through:
- Get started — template, name, Live or Testing mode
- Primary model — provider, model, optional backups on the same screen
- Response — response format and instructions (required in Testing mode)
- Review — confirm and see the full workflow path preview
No hidden screens. No duplicate settings.
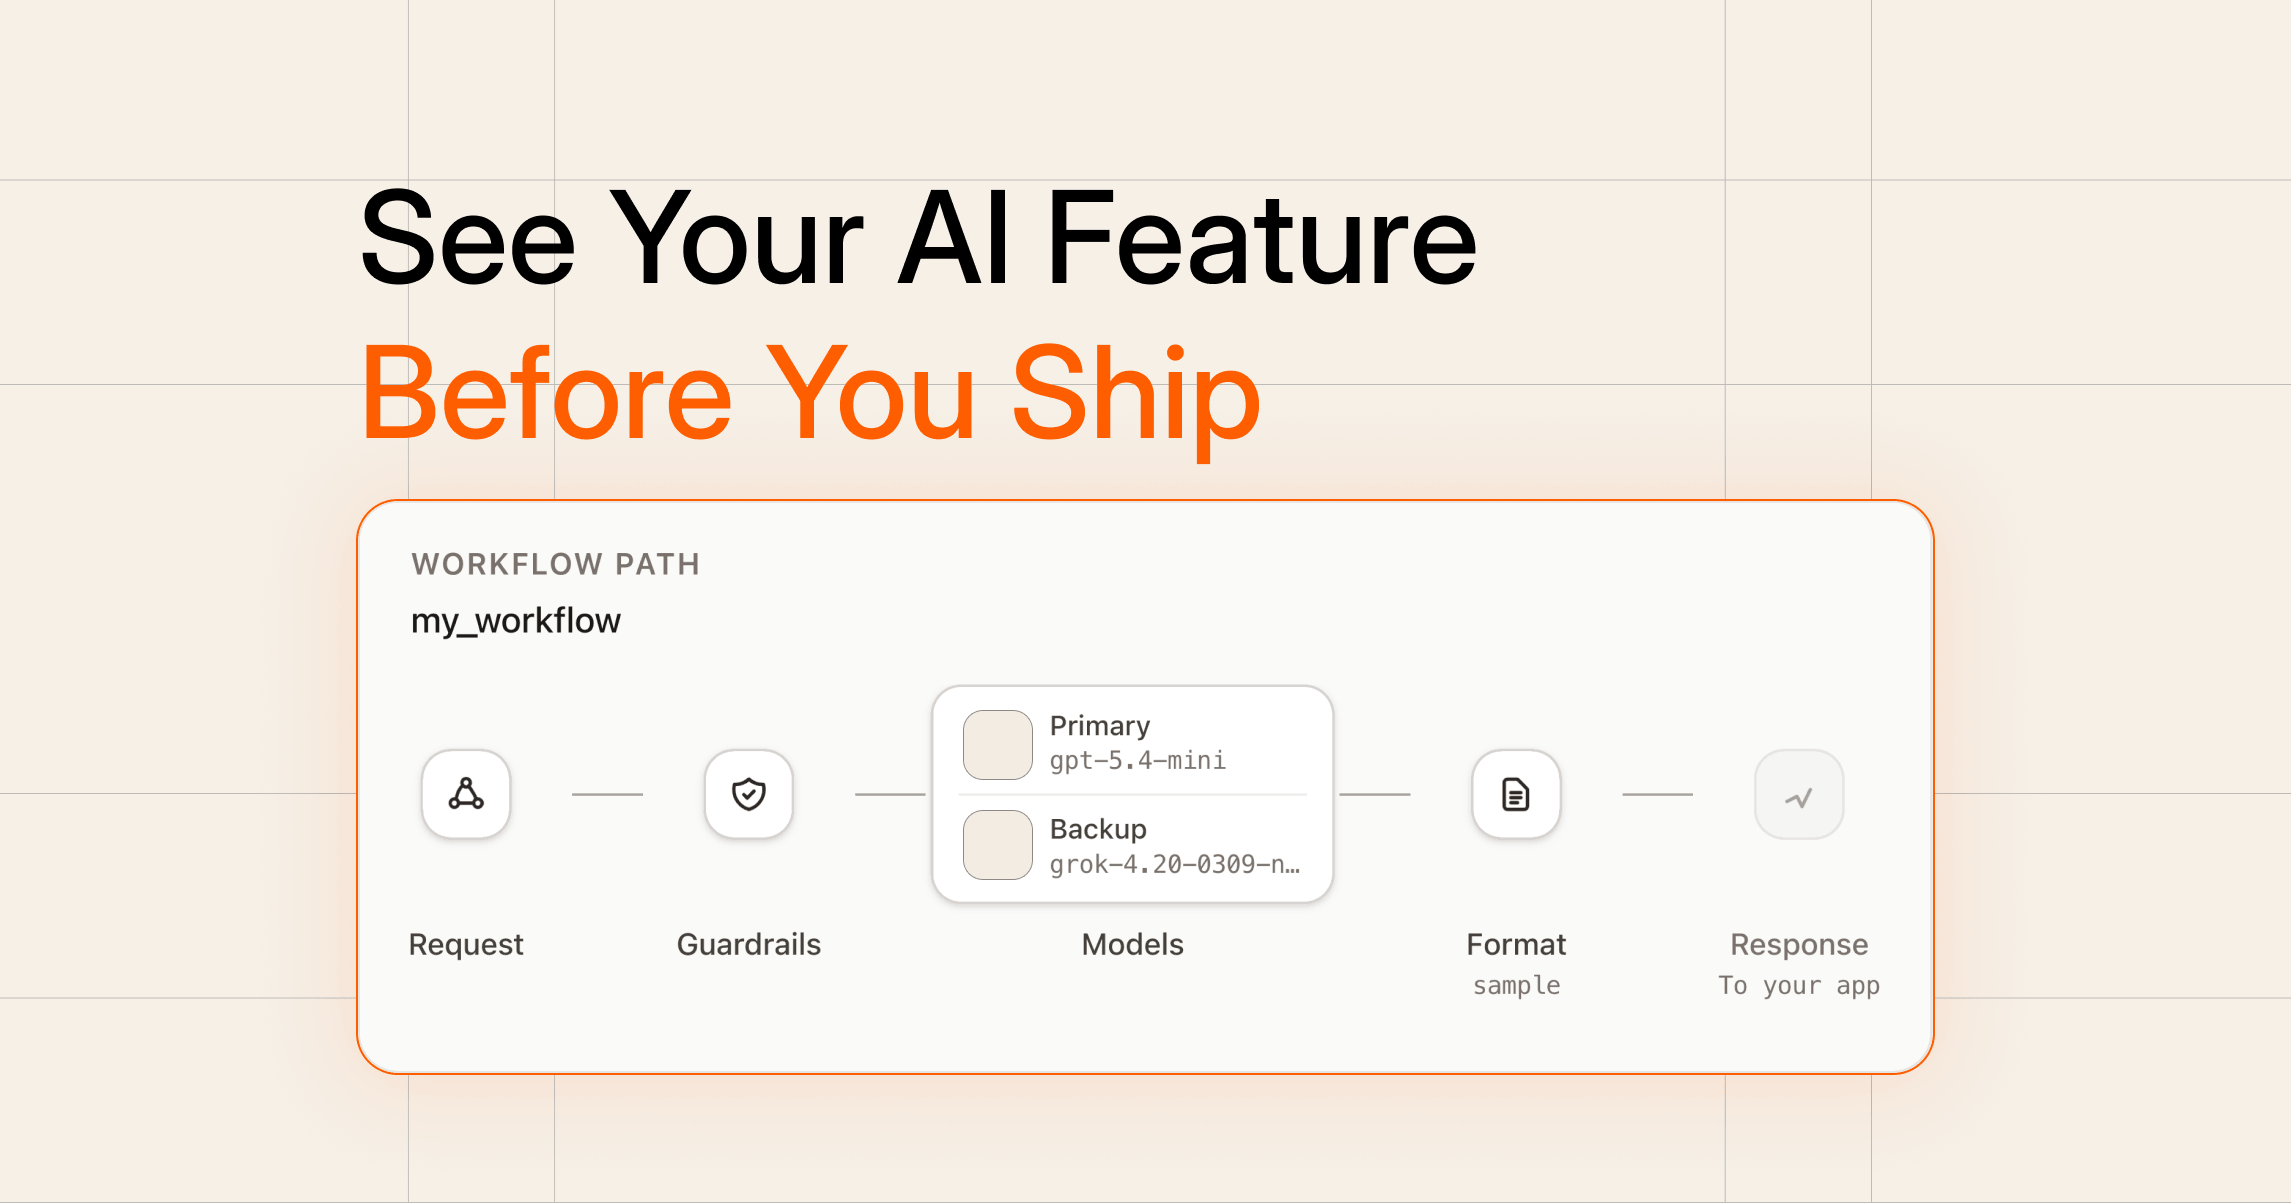
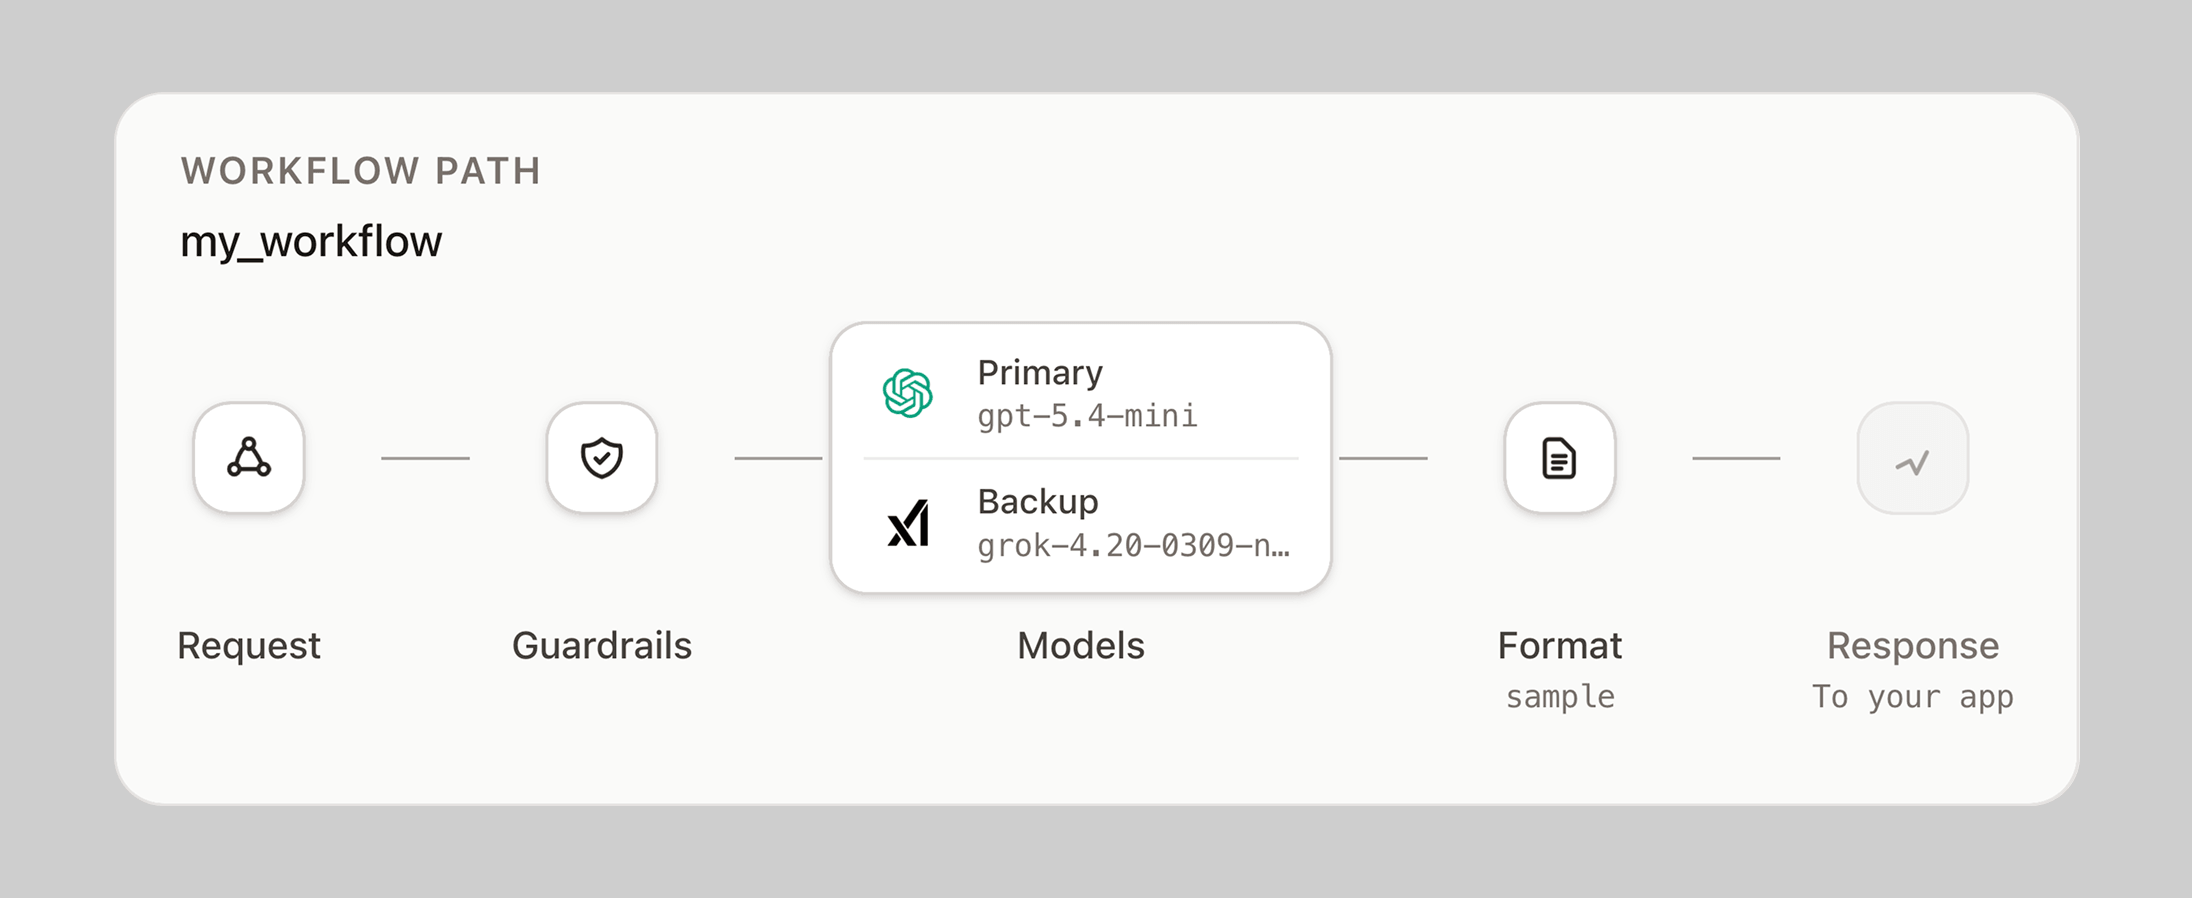
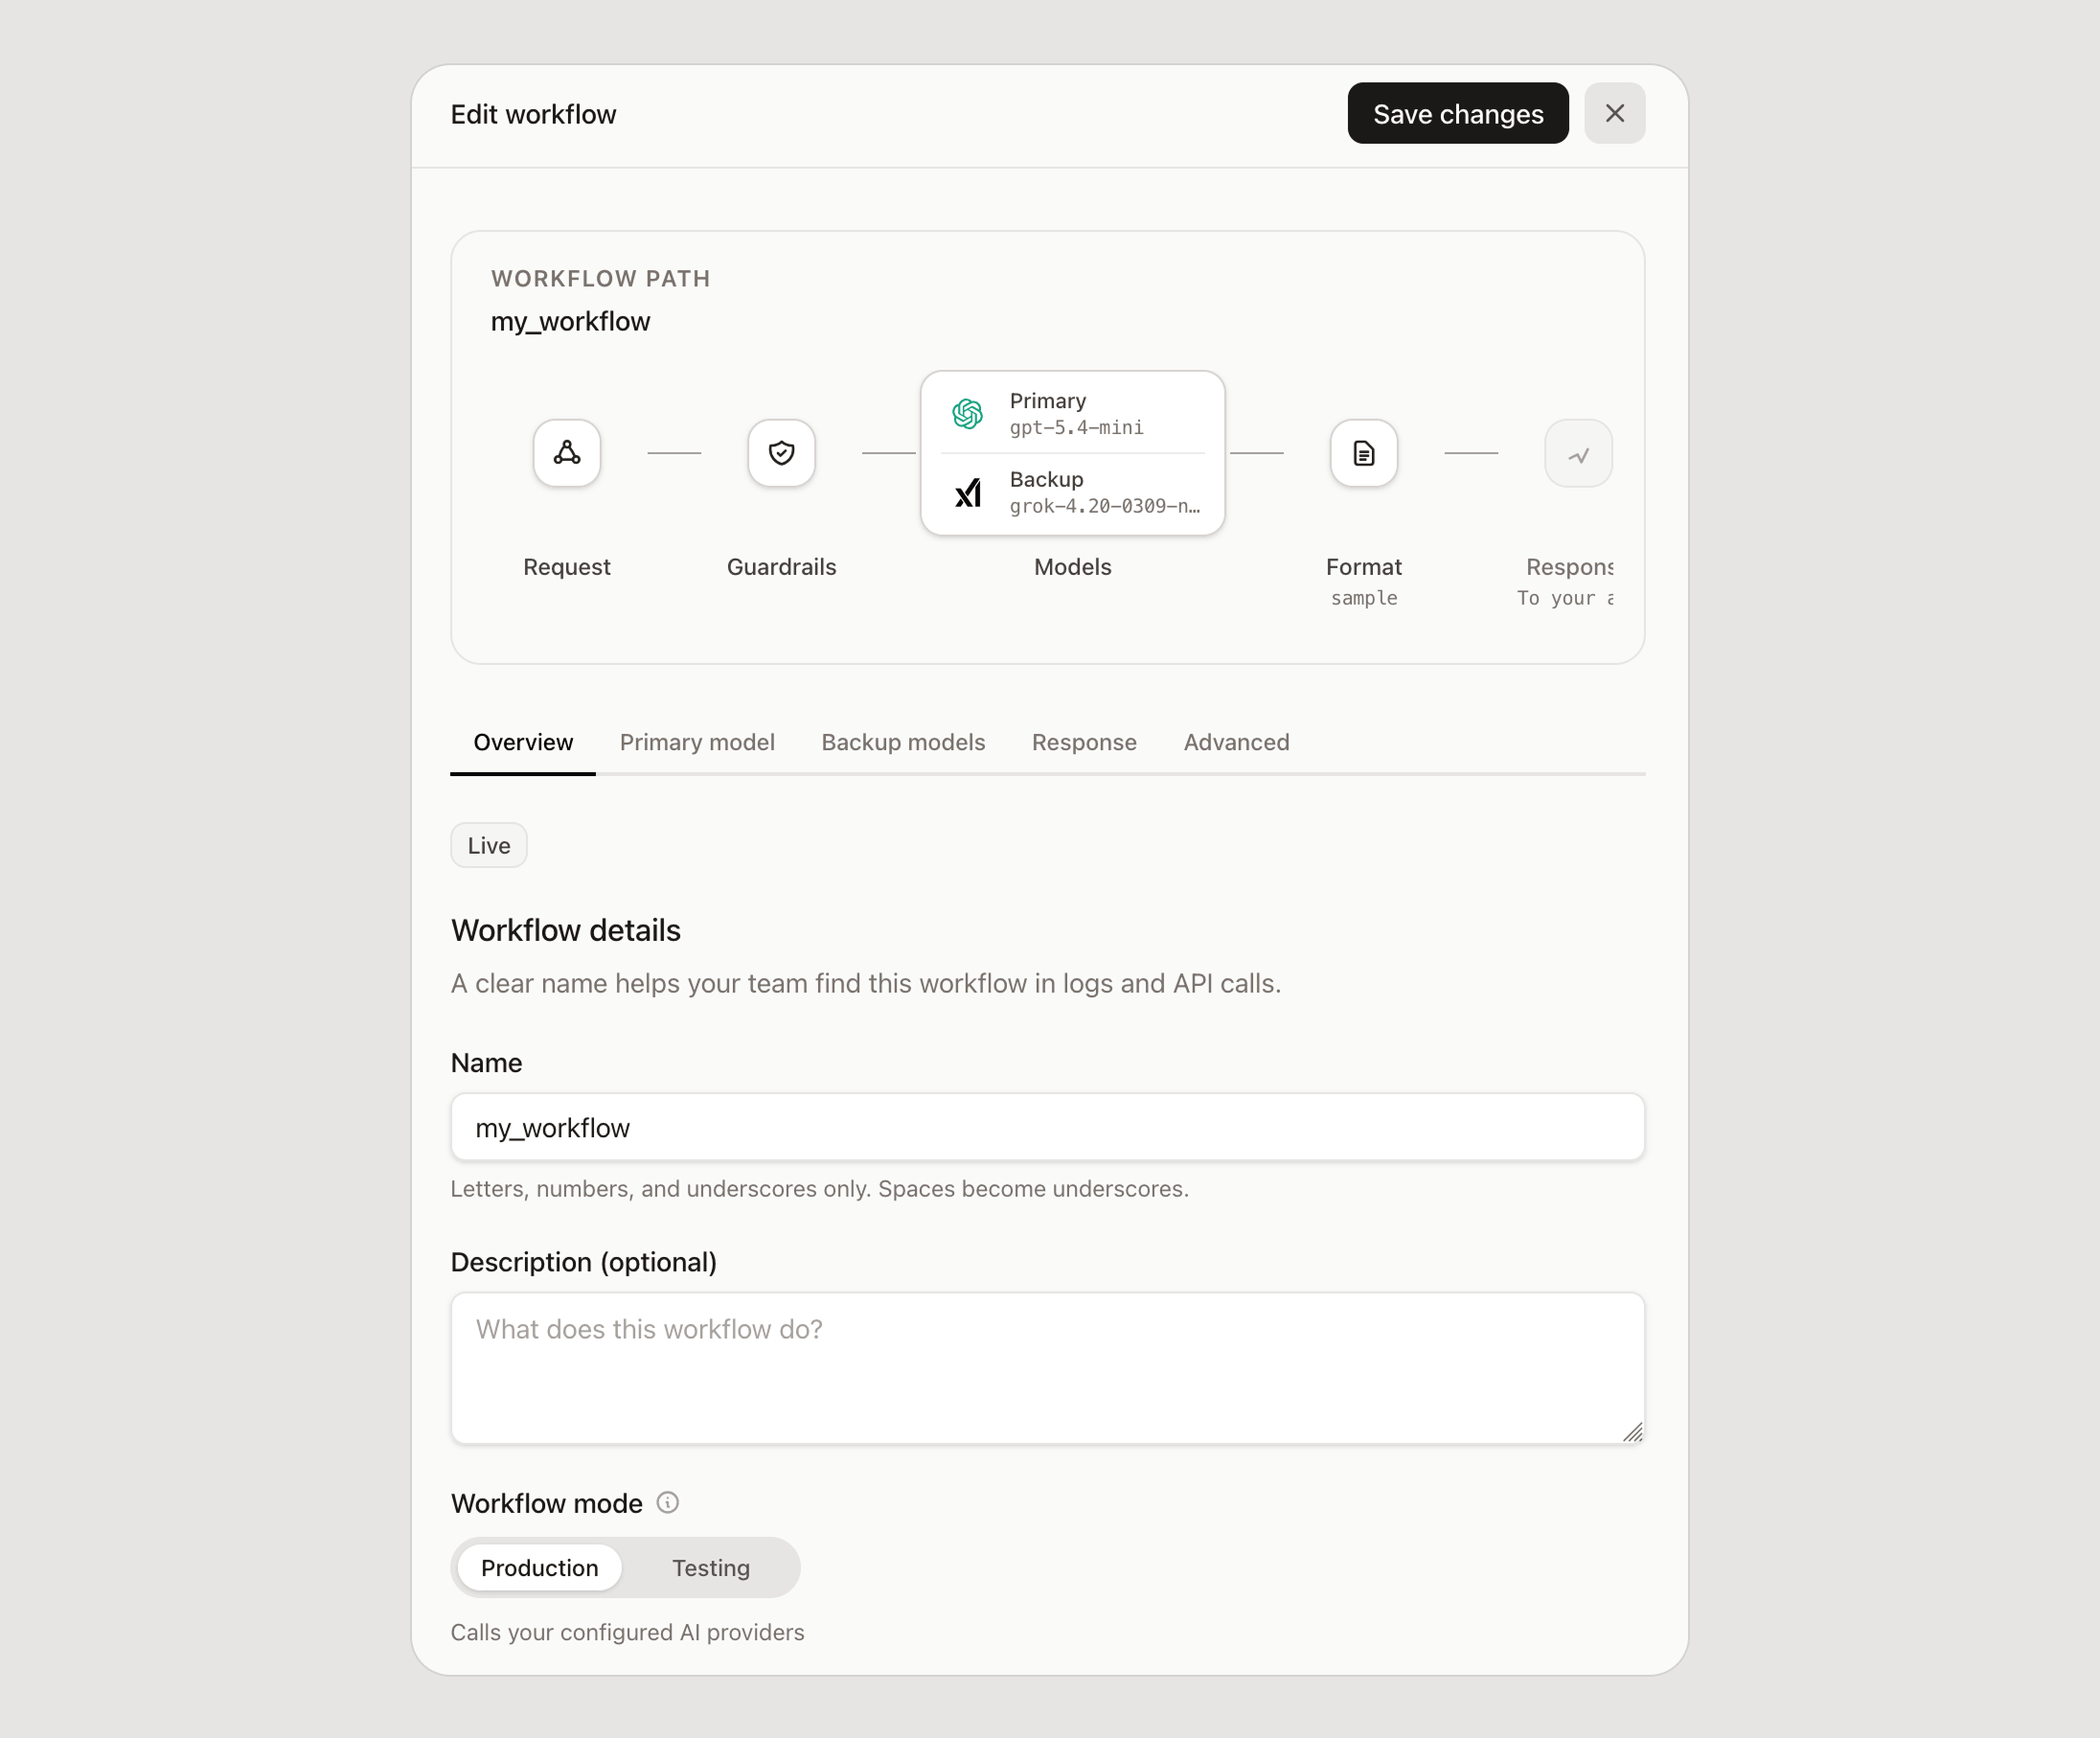
See your workflow path before you ship
On Review (and when editing any workflow), a horizontal Workflow path diagram shows:
Request → Guardrails → Models → Format → Response
- Models — primary and backup providers with logos
- Format — schema name, or "Optional" if not attached
- Response — Live AI answer or Testing sample data
Labels like "Not set" and "Optional" tell you what is fine to skip and what you still need before go-live.
Screenshot it for a PR, standup, or security review. Everyone sees the same pipeline.
What setup gaps and output issues you can catch early
The workflow builder does not replace a full eval suite, but it helps you catch problems that sink AI features in production:
- Invalid JSON outputs — attach a response format; your app and Testing mode use the same schema
- Missing required fields — schema defines required keys before you go Live
- Wrong model or provider — visible on the path preview and workflow cards
- No failover plan — backup models show on the same screen and on cards
- Provider migration issues — switch models in the dashboard; app code keeps the workflow name
- Accidental Live calls during development — Testing mode returns sample data with zero tokens
- Unclear production status — Live vs Testing badges on every card
For deeper LLM regression testing across providers, pair workflows with request logs and structured output validation. See Same JSON schema across five LLM providers for how teams run AI evaluation at scale.
Test your app before you turn on AI
Pick Test mock or set Testing mode. Your app gets predefined sample JSON instantly. Zero provider charges. Real API keys, auth, and logging still work.
On the final wizard step, choose Create and test in Playground to validate the workflow without leaving the dashboard.
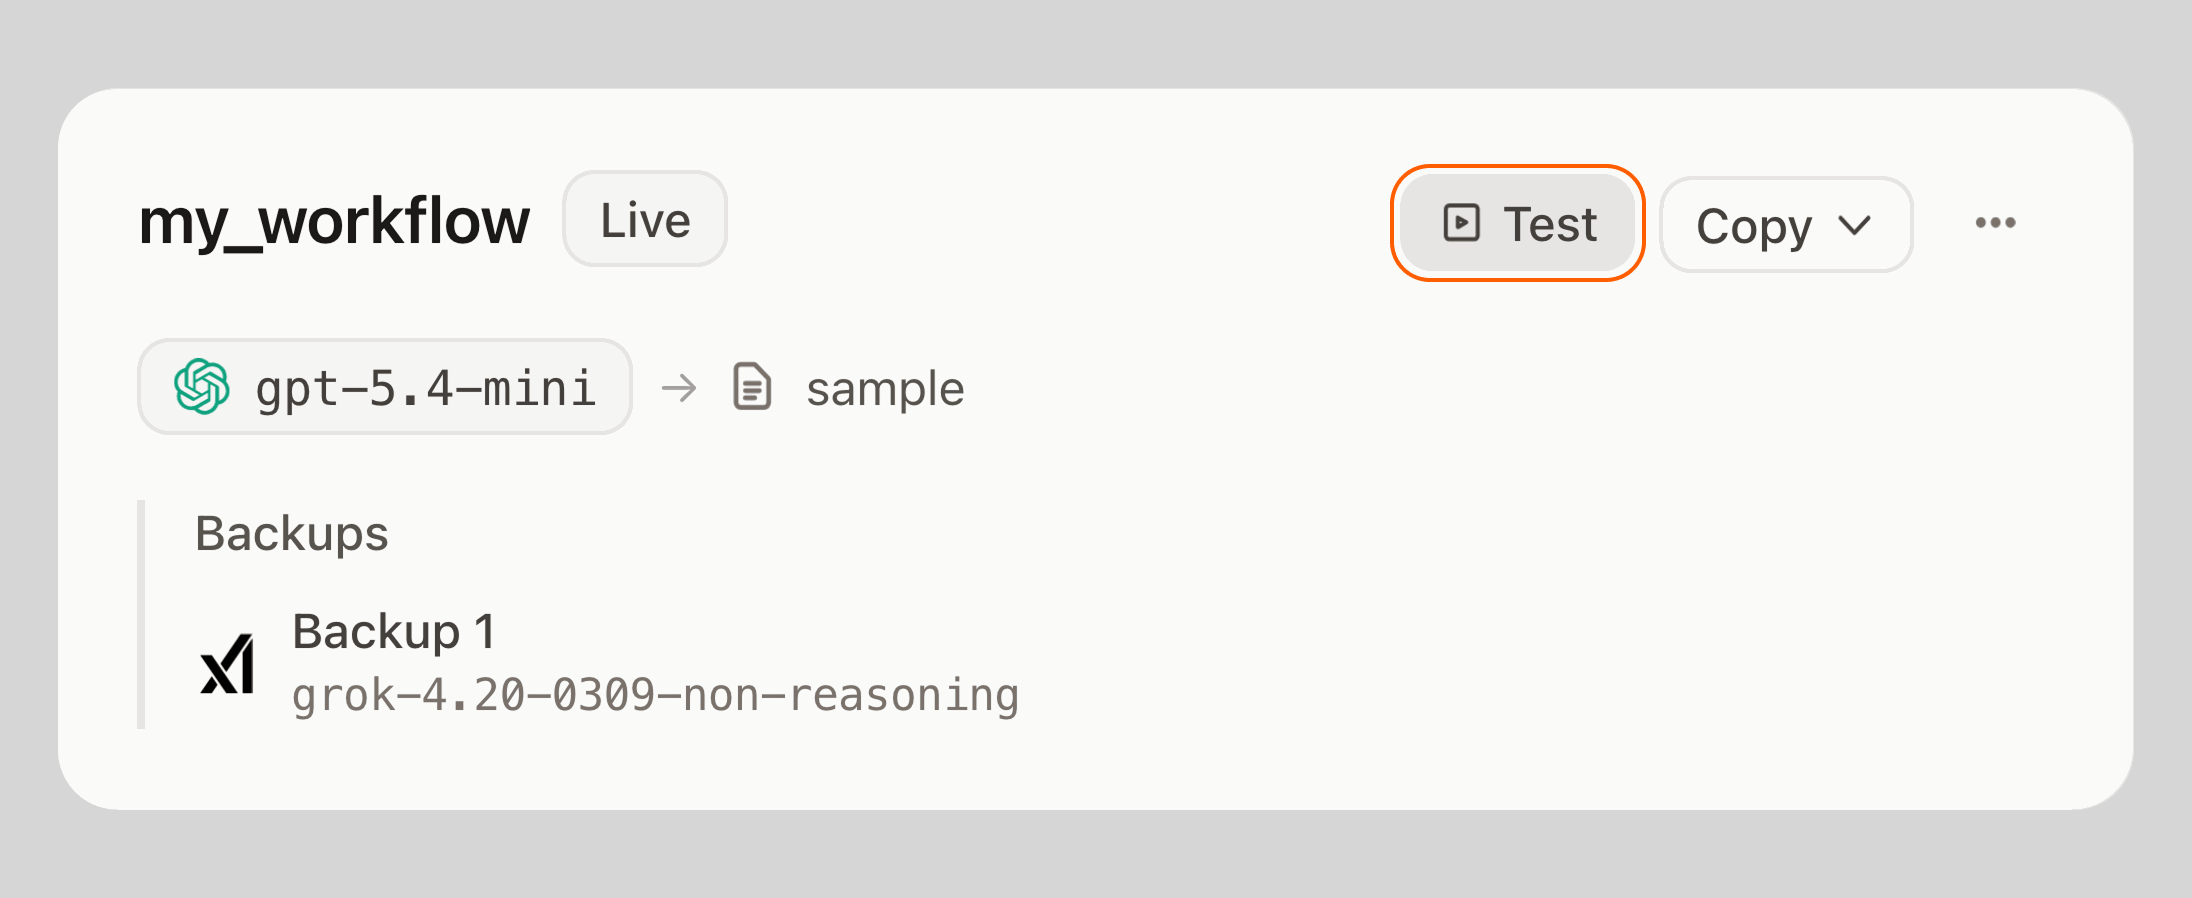
Your workflow list is your control panel
Workflow cards show Live or Testing badges, a mini pipeline (model → response format), backup models when configured, and metadata for event-driven flows, custom fields, and cache.
Scan the grid in ten seconds. Know what is production-ready, what is still in test, and what needs a provider connected.
When you need more: edit tabs
Jump to Overview, Primary model, Backup models, Response, or Advanced. The workflow path preview stays at the top while you edit.
Empty provider state links to Providers. Event-driven setups include a Learn more link to the event-driven async guide.
Who is this for?
- AI application developers wiring features who need LLM testing without a token bill on every run
- SaaS teams building AI features who want one place to configure, preview, and ship
- Prompt engineers who need a stable workflow name while models and instructions change
- AI platform teams managing multiple features, providers, and response formats
- Enterprise AI teams who must explain which model runs what before a security or procurement review
You do not need to become an ML ops engineer. You need a setup flow that shows the pipeline, validates structured outputs, and lets you ship with confidence.
The bottom line
Shipping AI should not mean guessing what you built. The visual workflow builder gives you AI quality assurance at setup time: see the path, test with sample data, attach schemas for structured output validation, compare models without rewriting your product, and know which features are Live before your users do.
Next steps:
- Create a free account
- Build your first workflow
- Create test suites via Testing mode, compare models in the dashboard, validate outputs in Playground, and catch regressions before you flip to Live
Frequently asked questions
What is an AI workflow in ModelRiver?
A named AI feature your app calls, like support_reply or invoice_summary. It holds provider, model, backups, response format, and mode. Your code references the workflow name, not a model ID.
What does the workflow path preview show?
How a request flows through your configuration: request, guardrails, models, optional format, final response. It highlights what is configured, optional, or missing before you save or go Live.
What is the difference between Live and Testing mode?
Live calls connected providers and uses quota. Testing returns sample data from your response format with no provider call. Build in Testing; switch to Live for real AI responses.
Do I need to change my app code when I switch models?
No. Change provider or model in the dashboard. The same workflow name routes to the new model. Read Switch AI models without rewriting your product.
Can I use workflows for event-driven AI?
Yes. Set an Event name under Advanced when AI results should hit your backend via webhooks. See event-driven AI architecture.